WooCommerce – Instagram Shopping Feeds
License for one site, lifetime use and updates + 6 months support.
Step 1 – Installation
WordPress admin dashboard:
- Go to `Plugins` -> `Add New`.
- Click `Upload Plugin`.
- Upload `WooCommerce – Instagram Shopping Feeds` plugin zip file.
- Activate it after the upload is complete.
Manual upload – FTP, SSH, SFTP etc:
- Unzip `WooCommerce – Instagram Shopping Feeds` plugin zip file.
- Upload it to your `WordPress` plugin directory (usually /wp-content/plugins ).
- Go to `Admin` -> `Plugins` and activate it.
Step 2 – Create feed
Go to the WooCommerce -> Instagram Shopping Feeds.
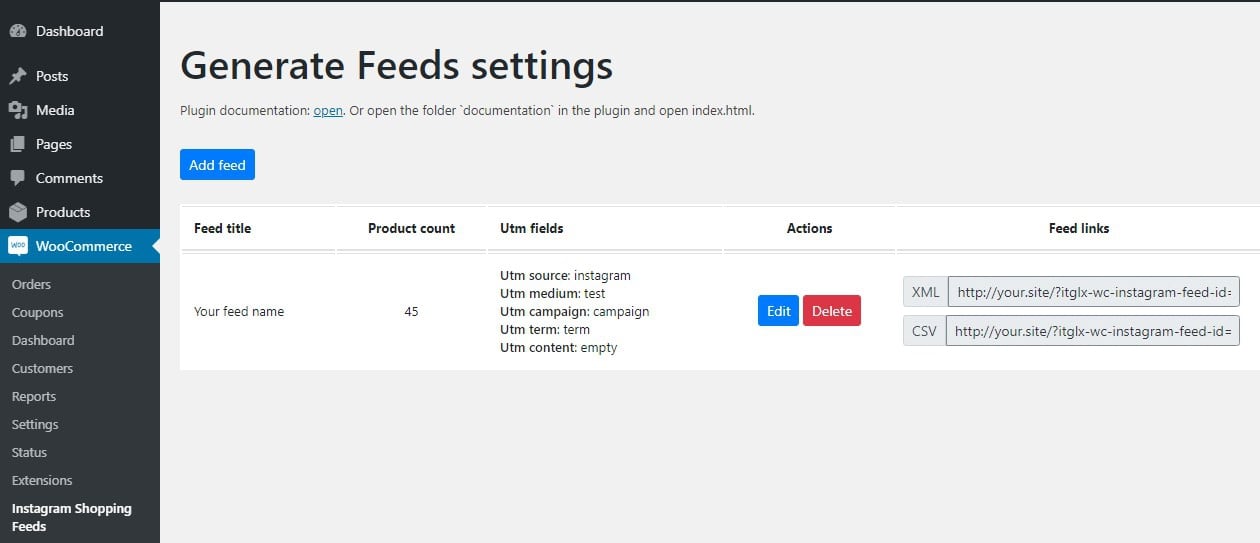
Click `Add feed` and adjust the settings as you wish. When finished, click `Add` at the bottom of the modal window.
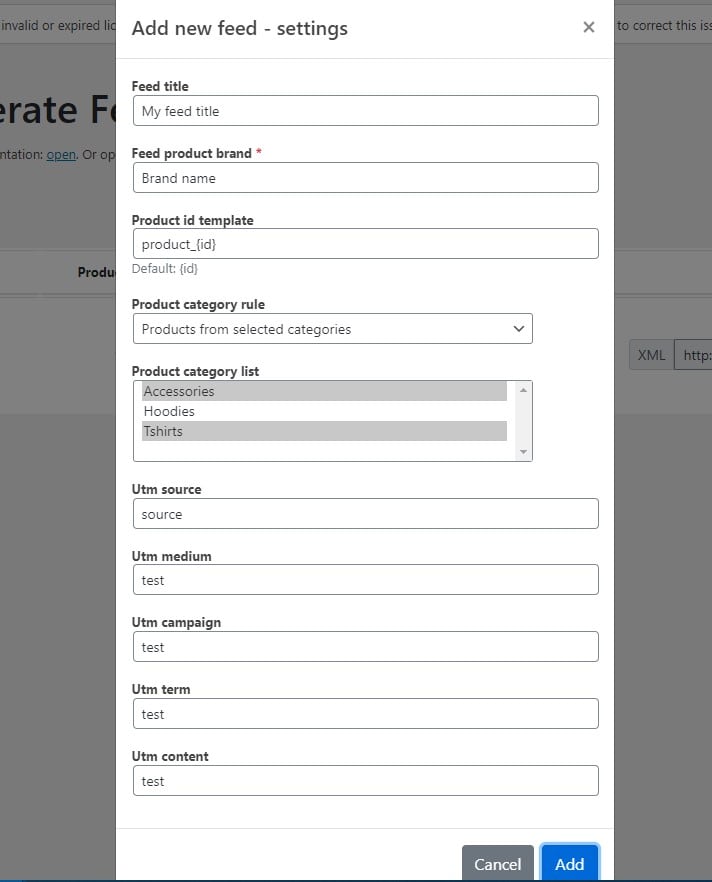
Please note that goods without a price or image are not included in the feed, and also, when checking the feed in Facebook, products will not be accepted, for example, without a description.
Step 3 – Set up a Facebook Business Manager
Main guide from Facebook – https://www.facebook.com/business/instagram/shopping/guide
1. Connect the Instagram Account to the Facebook Page – https://www.facebook.com/business/help/898752960195806
2. The next step is to set up a Facebook Business Manager. If you already have one, you can skip this step. If it isn’t the case, please, follow https://www.facebook.com/business/help/1710077379203657?id=180505742745347
3. Let’s go to connect your Instagram business account by following – https://www.facebook.com/business/help/1125825714110549?id=420299598837059
After you have correctly configured Business Manager, you can start upload the products of your storet through the feeds.
4. https://www.facebook.com/business/help/169396597334438?id=2042840805783715
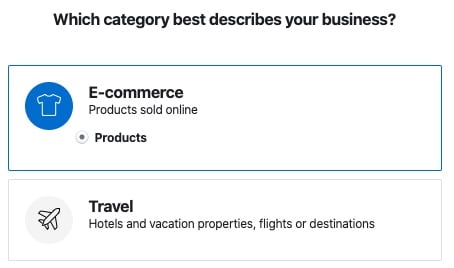
When you create a catalog, select the best category that describes your products, or simply select the category “E-commerce”.
The next step is to choose how to add products to the catalog. Select the option “Upload Product Info” and add the name to the catalog.
After saving the form, you will have a Facebook Catalog. Now, let’s add your store’s products to it. Click on the “Product Data Source” link that you will on the left menu and select the option “Use Data Feeds“.
In the section “Choose Upload Method“, select the option “Scheduled feed“.
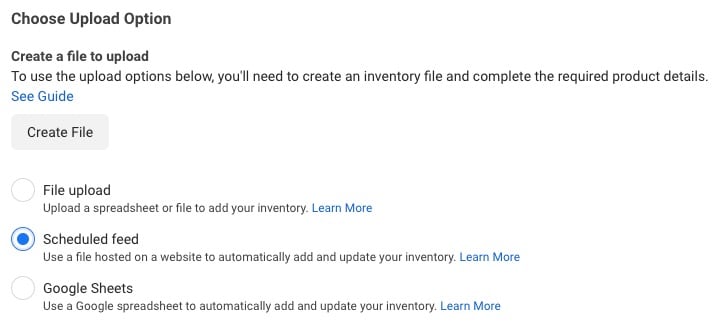
Then paste the URL of the feed created in the previous step.

Finally, click on the “Start Upload” button. After the process is complete, your product catalog will be uploaded to Facebook.
5. Connect the created catalog to your account Instagram Business https://www.facebook.com/business/help/1122222851277569?id=725943027795860

